


















The short answer
For a holiday meal in a small kitchen, choose a menu that spreads the work across your oven, stovetop, and cold preparation. Keep one surface clear for prep, reserve a suitable place for hot dishes, and put serving pieces where people will eat. Plan how the dishes finish together before adding another side.
Leave yourself a seat at the table.
The main is something you love making. Someone is bringing dessert. There are enough chairs, including the one borrowed from the desk.
Then you write down the sides and notice that nearly everything wants the oven at the same time.
That is often the real small-kitchen problem. Not a shortage of lovely bowls, but several dishes asking for the same piece of equipment, the same patch of counter, and your attention in the same few minutes.
A good holiday plan gives those jobs some breathing room. It lets you make a meal that feels generous without turning every available surface into a temporary workbench.
Our Home & Kitchen essentials guide looks at the wider kitchen. Here, we work through one small gathering: choosing the menu, finding the working space, and getting from the last cooking step to your own chair.
Choose a Menu That Can Share the Kitchen
Choose the main first, then give the sides different jobs. An oven main, a stovetop side, and a cold salad are easier to coordinate than several dishes competing for the same oven space.
Start With the Main
Begin with the dish you most want to serve and a reliable recipe for it. Write down the equipment it needs, its cooking conditions, and any resting or finishing steps.
Now choose the sides around that commitment. If the main occupies the oven, stovetop mashed potatoes may be a better fit than roast potatoes. A crisp salad adds a different texture without asking for a burner. Bread that can be served as it is avoids one more last-minute heating job.
That is not a lesser menu. It is a menu whose parts cooperate.
Matching oven temperatures is only part of the decision. The pans must also fit in the positions the recipes require, and the appliance must accommodate the load. Two dishes with similar instructions can still be awkward companions.
A Four-Dish Example
For an illustrative meal for four, consider roast chicken, stovetop mashed potatoes, a green salad, and a bakery pie. Choose quantities for your guests and use appropriate recipes; this is a workspace plan, not a tested menu or cooking timetable.
| Dish | Main demand on the kitchen | Why it fits this plan |
|---|---|---|
| Roast chicken | Oven, roasting pan, and a suitable landing and carving area. | The main receives the oven space rather than competing with several baked sides. |
| Mashed potatoes | Stovetop, pot, draining space, and a mashing tool. | The side uses a different cooking method, although its finishing steps still need planning. |
| Green salad | Clean preparation space, a bowl, and appropriate refrigerated storage. | No last-minute heating is needed. |
| Bakery pie | Storage appropriate to the filling and a later serving space. | Dessert does not add another cooking project. Choose one intended to be served without reheating. |
For a vegetarian meal, substitute a suitable baked main and reconsider its recipe requirements. Keep the useful principle: distribute the work instead of rebuilding the entire menu around one crowded oven.
Give Prep, Hot Dishes, and Serving Their Own Places
Protect a preparation surface, reserve a hot-dish landing place, and keep serving pieces out of both. These are three jobs, even if they happen in a very small room.
Protect One Preparation Surface
Choose the most useful place for your board and ingredients. Move unrelated items before cooking begins, including the decorative bowl that looks lovely but has no role in this meal.
Keep ingredients for the current task nearby rather than putting every package on the counter at once. When one stage finishes, clear and clean the space before the next.
Raw poultry preparation and ready-to-eat salad need proper separation. The FDA’s safe-food-handling guidance recommends separate cutting boards for fresh produce and raw meat, poultry, or seafood, along with cleaning preparation surfaces and utensils. A small counter does not remove that requirement; it makes the sequence more important.
Reserve a Hot-Dish Landing Place
Before opening the oven, know where the hot pan will go. Use a stable, suitable surface with appropriate heat protection, and keep the route clear.
Do not let that spot become storage for the salad bowl, a phone, or the mail. A landing place that disappears halfway through cooking is not much of a plan.
If you are considering an extra countertop appliance, include its operating clearances, cord route, and cooling space—not just its base. The U.S. Fire Administration’s appliance and electrical guidance also warns against damaged cords and overloaded outlets. More equipment is useful only when the room can support it properly.
Move Serving Away From the Cooking Area
Set plates, napkins, and serving utensils at the dining table or another appropriate serving location before you begin. Empty platters do not need to spend the afternoon beside the chopping board.
Drinks can have a separate place too, away from hot equipment and the route between oven and counter. It gives guests somewhere to help themselves without gathering in the part of the kitchen you need to use.
Plan the Sequence Before the Shopping List
Work backward from serving, using each recipe’s actual instructions. The important question is not only when a dish starts, but what it needs from you just before it reaches the table.
Do the Non-Cooking Jobs First
Set the table, choose serving utensils, find the food thermometer, and make room for leftovers before the kitchen gets busy. These jobs can be finished without occupying an oven or keeping cooked food waiting.
For food preparation, distinguish between something that can be prepared ahead and something that can sit out. A chopped ingredient may still need refrigeration. Follow the recipe and the ingredient’s storage requirements.
Make a short working list:
- The main’s preparation, cooking, and finishing steps.
- The side’s active jobs, including draining, mashing, or adding a final ingredient.
- The salad’s preparation, refrigeration, and dressing.
- The moment the counter becomes a plating area.
- The serving utensils and food-storage containers needed afterward.
Writing “potatoes” is less useful than writing “drain, mash, transfer, serve.” The second version shows where your hands and your sink will be occupied.
Plan the Finish, Not Just the Start
Look for several tasks landing together: carving the main, draining the potatoes, dressing the salad, and carrying plates. Move what you can, or give a willing guest a specific job away from the hot-pan route.
Use a food thermometer where required. For the chicken in our example, the FDA lists a safe minimum internal temperature of 165°F for poultry. A browned exterior is not a substitute for that measurement.
If food needs to wait, plan suitable temperature-controlled holding. Covering a dish or placing it in a turned-off oven does not establish that it stays at a safe temperature.
USDA’s buffet guidance recommends keeping hot food at 140°F or above and cold food at 40°F or below. Perishable food should not remain out longer than two hours, or one hour when the temperature is above 90°F. For a small meal, serving promptly can be simpler than creating a long holding period.
Choose Tools That Earn Their Counter Space
Bring out tools for the jobs on your menu, not every tool that might be useful. A clear working surface is worth more than a display of equipment you will have to move.
Give the Recipe a Reading Place
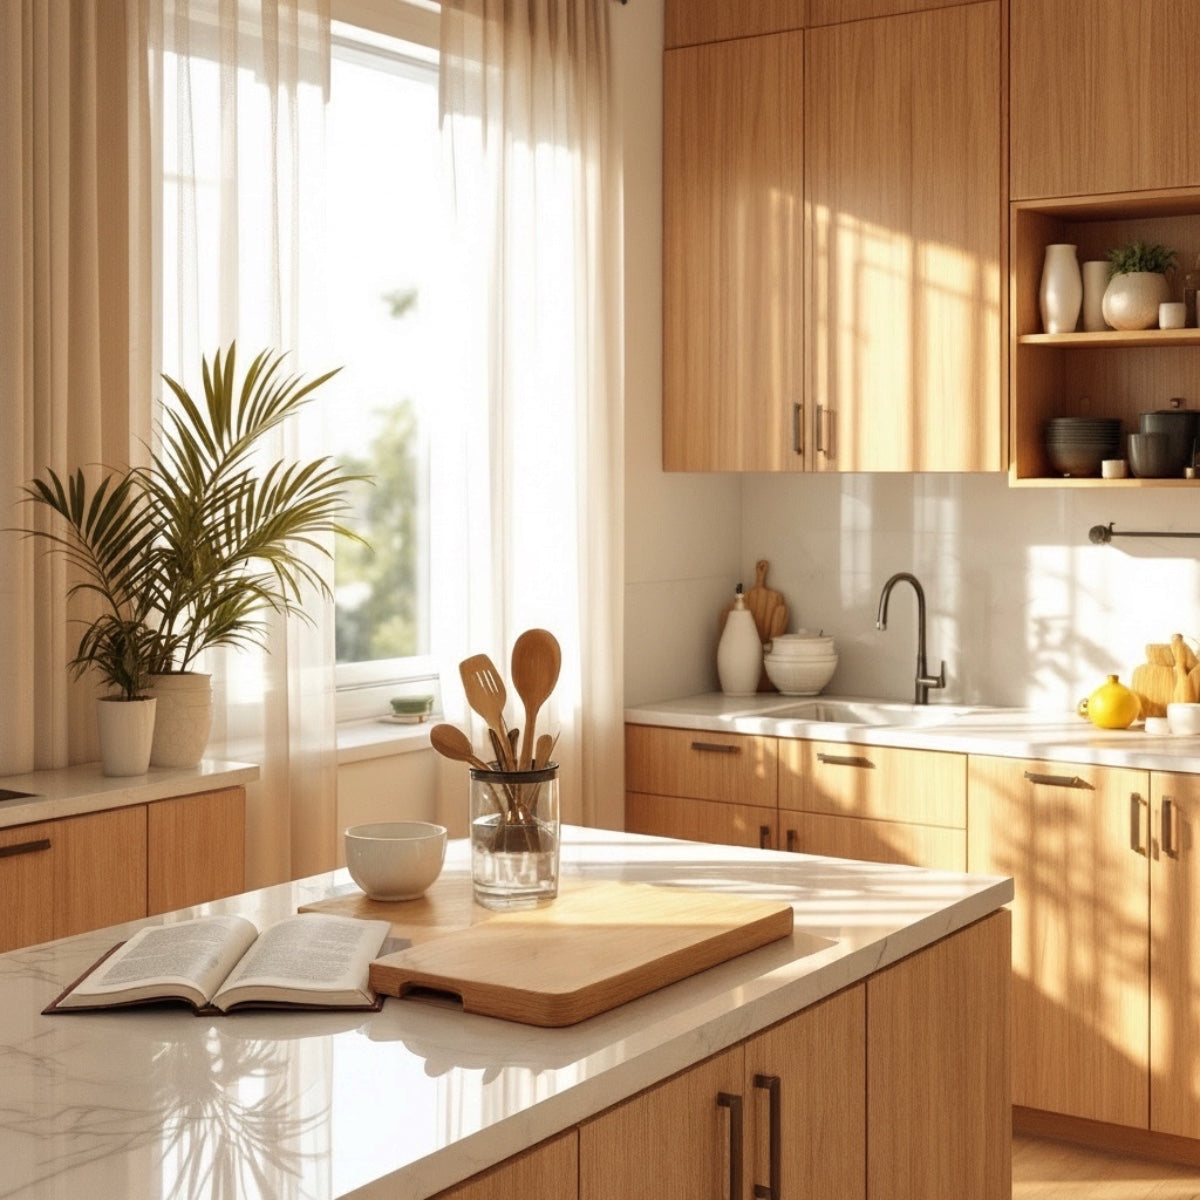
An open cookbook belongs where you can read it without leaning over the chopping board. A suitable stand can give the recipe its own position instead of letting it occupy the preparation area.
Place it away from splashes, raw-food handling, and hot appliances. Account for the open book as well as the stand; an upright recipe still needs room.
A place for the recipe
For regular cookbook cooking, explore our Rustic Wooden Cookbook Stand. The useful role is straightforward: keep the recipe in view while the preparation surface does its own job.
Our guide to choosing a cookbook stand explains how to compare book support, reading position, and counter space.
Put Out Tools by Job
For the example menu, identify the tools for preparation, safe handling of hot cookware, checking the main, draining and mashing, carving, and serving. Some will be used in different stages; some need to remain separate.
Choose each cooking utensil for the cookware it touches. Keep serving utensils at the serving location rather than mixing them into the preparation pile.
A small tray or another suitable, clean place for the next stage’s tools can help you see what is ready. It is a staging area, not an invitation to bring out the whole drawer.
Set a Welcoming Table Without Borrowing the Counter
Choose the serving style that leaves enough room for people to eat comfortably. Family-style is lovely when the dishes fit; kitchen-plated service is often better when they do not.
Try the empty serving pieces on the table before cooking. Include glasses and the space people need around their plates. If every bowl fits only by moving something else, plate the main and hot side in the kitchen and bring those plates to the table.
Once food preparation is finished and the surface is properly cleaned, that same working area can become the plating area. It does not have to do both jobs at once.
Keep decoration proportionate: folded napkins, a low arrangement, or one small seasonal detail. The meal will add its own color. Dessert plates and coffee accessories can wait until they are needed.
For the next part of the evening, our holiday coffee-corner guide offers a compact serving arrangement. There is no reason for dinner preparation and coffee service to occupy the same counter all afternoon.
Make the End of Dinner Part of the Plan
Have clean food-storage containers and refrigerator space ready before dinner. Taking care of leftovers promptly matters more than making every plate disappear immediately.
Choose containers that fit the food and the available refrigerator space. You do not want the last practical decision of the evening to involve holding a roasting pan in front of a crowded shelf.
USDA’s leftovers guidance recommends dividing larger amounts into shallow containers for rapid cooling. Hot food can go directly into the refrigerator; it does not need to sit on the counter until it reaches room temperature.
Separate the reset into two parts: store the food safely, then deal with dishes and surfaces. Follow the care instructions for cookware and appliances, including cooling requirements.
If someone offers to help, a clear task is useful: carry empty plates, gather serving utensils, or pack a particular leftover. “Could you clear the glasses while I put the food away?” works better than several people trying to solve the same crowded sink.
Small-Kitchen Hosting Questions
What Is the Easiest Holiday Menu for a Small Kitchen?
A useful starting point is one main, one side using different cooking equipment, one cold side, and a dessert that needs no last-minute cooking. Choose familiar recipes and adapt the quantities and ingredients to your guests.
How Do I Cook a Holiday Meal With One Oven?
Give the main priority, then choose sides that do not all need the oven at the same time. Stovetop potatoes, an appropriate cold salad, or bread served without reheating can remove a scheduling conflict. Where dishes share the oven, follow their recipe and appliance requirements.
Is Family-Style Serving Better in a Small Space?
Only if the table comfortably holds the serving dishes. If platters crowd the place settings, plate the main and hot side in the kitchen. Try the empty dishes on the table beforehand; it is a quick way to make the decision.
What Should I Ask Guests to Bring?
Ask for something that fits the kitchen plan: a ready-to-serve dessert, drinks, or a dish whose storage and serving needs you have agreed on. An unexpected casserole that needs oven time may be generous in spirit and awkward in practice. Be specific about allergies and other dietary requirements too.
A generous meal does not need every dish to arrive from the oven.
Choose the food you want to share, give each part a workable place, and let a few thoughtful details make the table feel like yours. The point of the plan is not a perfectly staged kitchen. It is having time to enjoy the people in it.
Sources and Updates
The menu and room arrangements are illustrative planning examples, not a tested recipe schedule or appliance installation. The linked sources support general food and electrical safety. Use the instructions for your recipes, cookware, appliances, and exact product options.
Selected sources
Read more
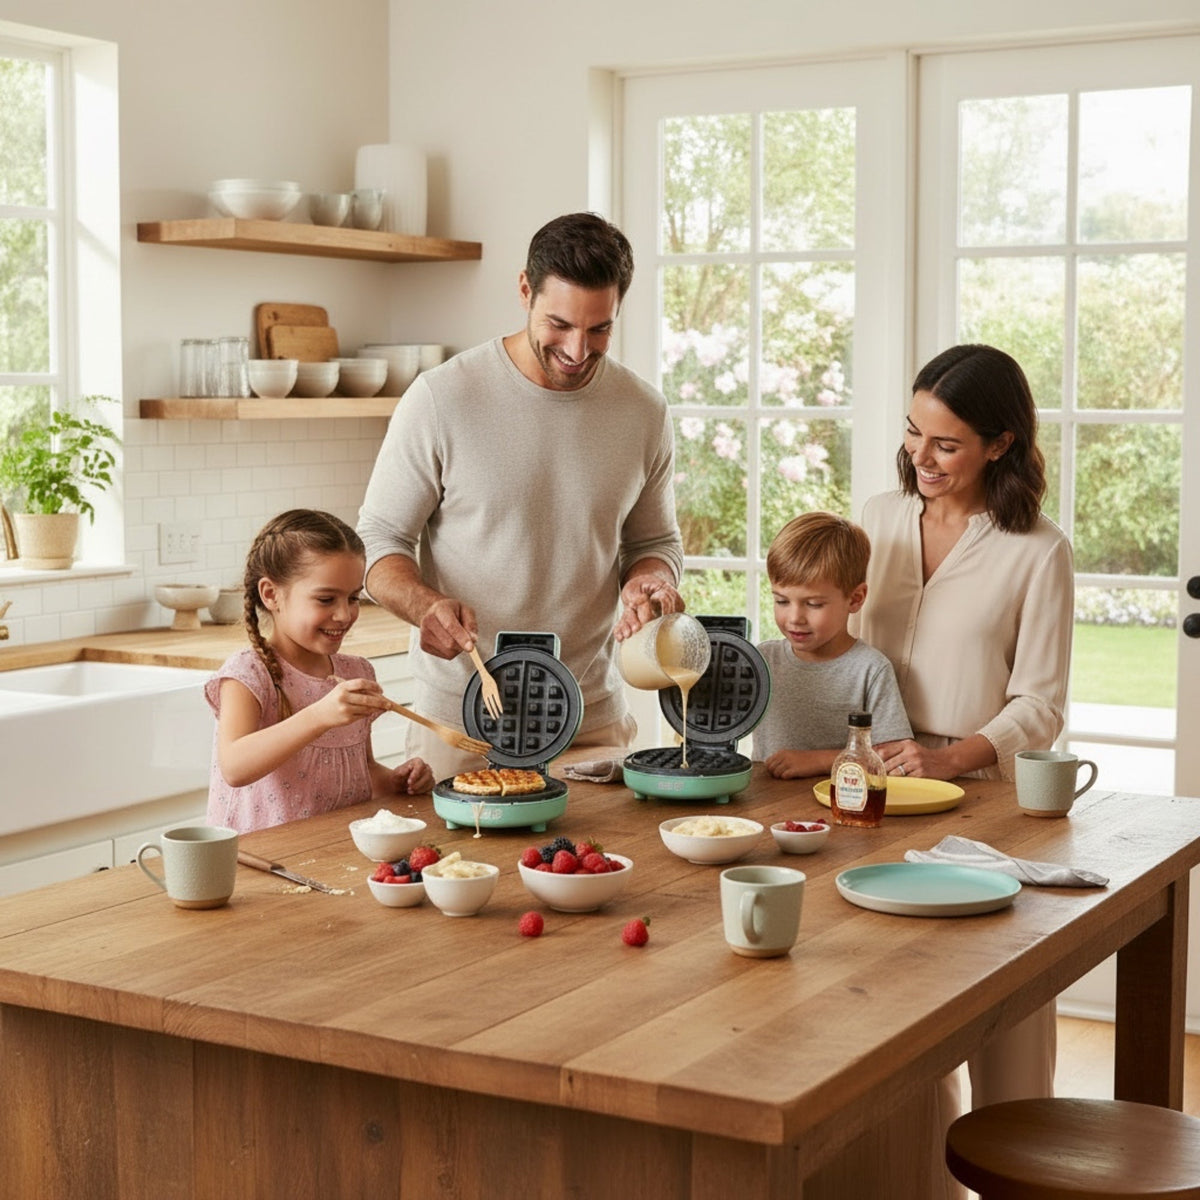
One warm waffle with coffee, or breakfast for everyone at once? Choose a mini waffle maker around the plates you want to fill, the counter you use, and the cleanup.
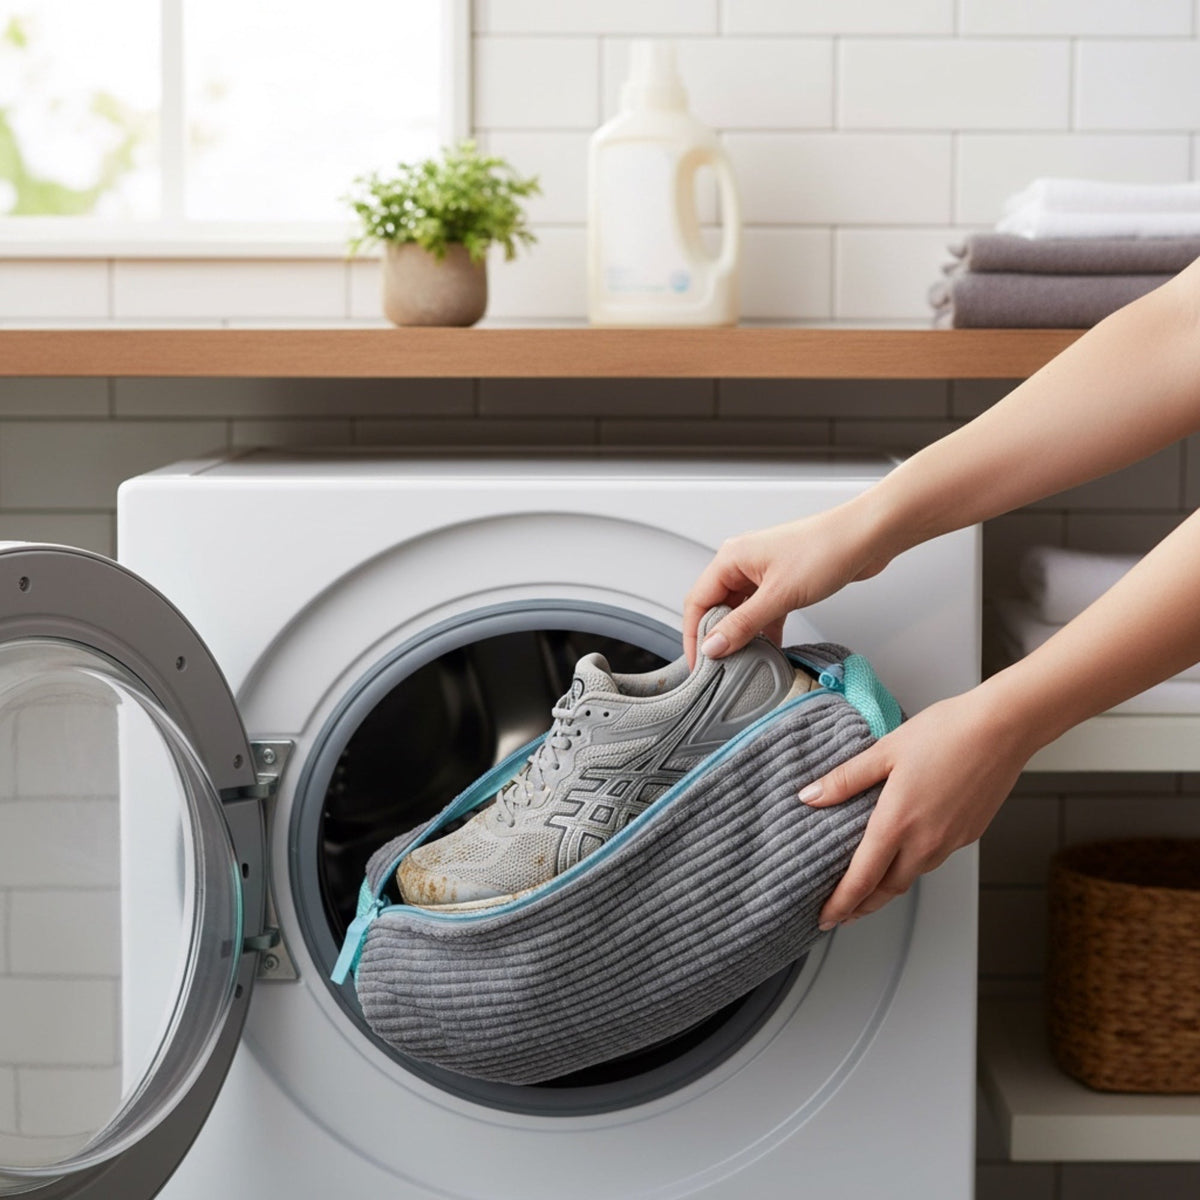
The sneakers by the door need some attention. Decide whether they belong in the washer, when a shoe laundry bag helps, and when a little targeted cleaning is the better choice.