


















The short answer
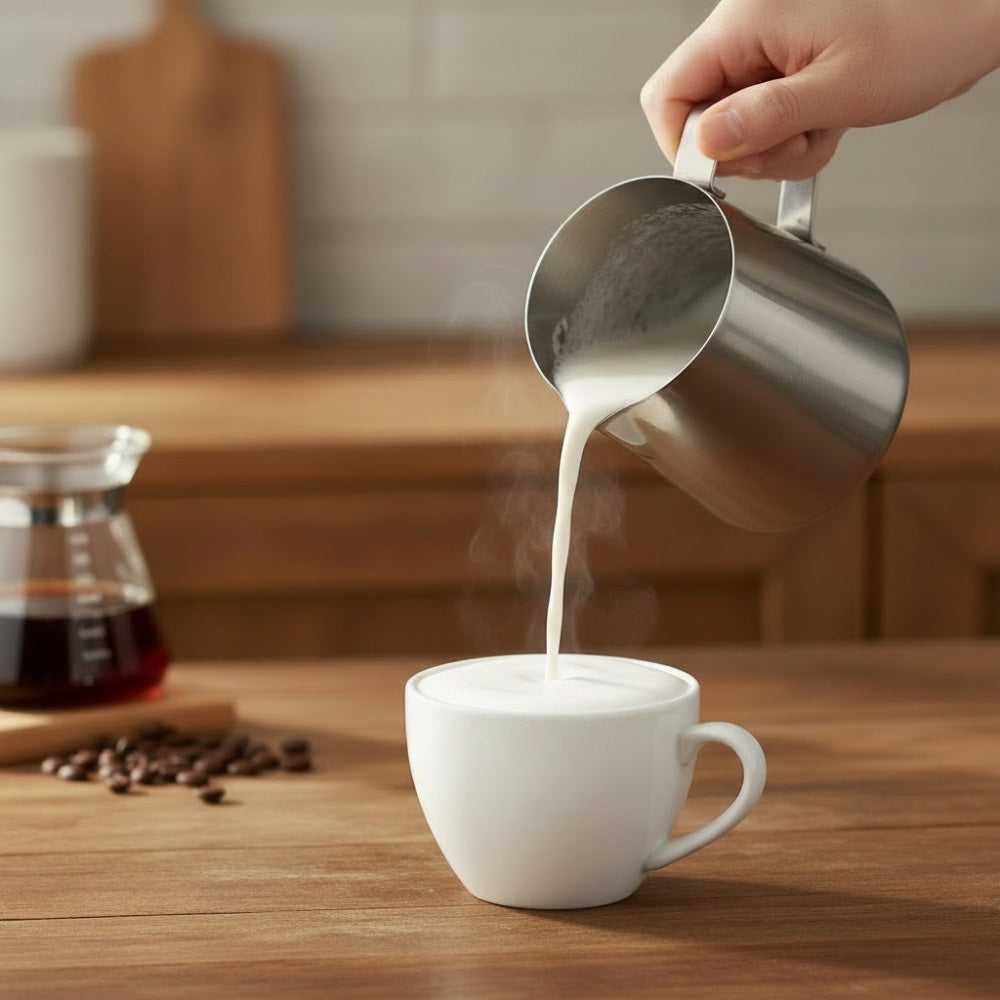
Pour milk into a tall cup or jug with room for it to expand, place the whisk below the surface, and start on low speed. Adjust the speed while keeping the whisk in the milk, then switch off and let it stop before lifting. Our handheld frother whisks rather than heats, so warm the milk separately for a hot drink or start with cold milk for iced coffee.
A little foam. A better reason to use your favorite mug.
You do not need to change the way you make coffee to enjoy a frothy finish. Keep the brew you like, prepare the milk separately, and bring the two together when they are ready.
Our Handheld Electric Coffee Milk Frother combines a stainless-steel whisk, three speed settings, and USB-rechargeable convenience. The adjustable speeds let you begin gently and increase the whisking pace when your vessel and milk level allow it.
That makes it a useful choice for warm coffee, cold milk foam, and a cup of cocoa after dinner. The technique is straightforward, and the most important splash-saving habit happens before you lift the whisk.
For the wider kitchen setup, our Home & Kitchen essentials guide covers tools, space, and everyday care. Here, we’ll keep the focus on the cup in front of you.
Start With the Right Cup and Milk Temperature
Give the milk room to rise and decide whether you want a warm drink or a cold one before switching on. Our frother provides the whisking step; it does not heat the milk.
A Taller Vessel Makes the First Try Easier
Choose a cup or jug with enough depth to keep the whisk submerged and plenty of empty space above the milk. A nearly full serving mug leaves little room for the liquid to move or the foam to rise.
Start with the milk for one drink rather than filling the vessel to its rim. You can adjust the amount once you know how that particular milk behaves in that cup.
For warm milk, use drinkware intended for hot liquids. If you heat the milk in the same container, it must also suit the heating method. The FDA’s food-contact guidance explains why intended use matters when choosing food-contact materials.
Keep the whisk clear of the sides and bottom. It needs space to turn in the milk, not against the vessel. Put the cup on a stable surface and keep the handle comfortably above the liquid.
Warm Milk and Cold Milk Are Both Options
For a hot coffee, warm the milk separately using your usual suitable method, then froth it. There is no need to boil it for this technique. Keep the frother out of the microwave and away from the stove’s heating surface.
For iced coffee, begin with refrigerated milk and froth it in a separate vessel. Pour it over the prepared coffee and ice afterward, keeping the spinning whisk away from the ice cubes.
Separating these steps gives you better control over the milk level and keeps the whisking space clear. The serving mug can stay the favorite mug, even if another cup is easier to froth in.
Our Handheld-Frother Method
Submerge first, start low, and switch off before lifting. Those three habits make the process easier to control than starting at full speed above the milk.
- Prepare the frother and vessel. Use a charged frother with a clean whisk. Pour the milk into a suitable cup or jug, leaving generous headroom.
- Position before powering on. Place the whisk head just below the milk’s surface, clear of the base and sides. Keep the handle dry.
- Start on the lowest speed. Let the milk begin circulating. Hold the frother steadily rather than moving the spinning head in and out of the liquid.
- Adjust gradually. If the milk stays contained and you want a faster whisking pace, move to a higher setting. Keep the head in the milk and watch the level as foam develops.
- Stop before lifting. Switch the frother off while the whisk is still in the milk. Wait for it to stop, then lift it out and finish your drink.
Our three speeds are there to give you options, not a requirement to use every setting for every cup. Low is the useful starting point. A higher setting may suit a larger vessel or the texture you are working toward, provided the milk remains contained.
Keep your adjustments small. If the whisk sits too deep, move it a little closer to the surface while keeping it covered. If it begins throwing droplets, lower the speed or move the head slightly deeper.
Once foam has formed, a brief pass a little lower in the milk can help circulate the mixture. Then stop and use it. More whisking is not automatically a better finish.
The first cup tells you something useful about the vessel, milk, and speed combination. Keep those details the same for the next attempt before changing several things at once.
The counter does not need to take part in the tasting.
Which Milk Should You Try First?
Start with milk you enjoy drinking, then adjust the technique around its behavior. Dairy and plant-based drinks can produce different foam textures, so there is no single result to promise for every carton.
If you usually drink dairy milk, begin there. If you prefer oat, soy, almond, or another alternative, use the one that suits your taste and dietary needs. A drink labeled for barista use or frothing is another option when foam is a particular priority.
Keep the comparison simple: the same vessel, a similar starting amount, and the same milk temperature. Changing the milk, speed, and cup together makes it harder to tell which adjustment helped.
Use refrigerated milk for cold foam and return the carton promptly to the refrigerator. The FDA’s safe-food-handling guidance emphasizes keeping perishable foods properly chilled. Follow the carton’s storage instructions, including those for plant-based drinks after opening.
Expect the foam to change as the drink sits. Make it close to serving time rather than frothing several cups far in advance. If your preferred milk gives a lighter finish, enjoy that texture or try a frothing-oriented version of the same milk type.
A carton you like with your coffee is still the starting point. The goal is a drink you want to make again, not the tallest possible foam in a photograph.
Warm Coffee, Iced Coffee, or Cocoa?
Froth the milk separately, then use it to finish a drink you already enjoy. That keeps the technique familiar while giving you several ways to use the same tool.
Your Usual Coffee, With a Foamy Finish
Prepare the coffee while you warm the milk separately. Froth the milk, switch off before lifting, then pour it into the coffee. Use a spoon to guide any remaining foam onto the top if you like.
Espresso gives you the starting point for a traditional latte, but you can also add frothed milk to stronger brewed coffee or the method you already use. You do not need a new coffee appliance to enjoy the change in texture.
Begin with your usual balance of coffee and milk. Once you like the result, try a different milk amount or a small finishing touch such as cinnamon. Keep the first version simple enough to repeat on an ordinary morning.
Cold Foam for an Iced Coffee
Prepare the coffee and ice in the serving glass. Froth cold milk in a separate tall vessel, then pour it over the drink.
Keep the spinning whisk out of the ice. Frothing separately also makes it easier to see how much room the milk needs and to switch off without lifting the head through an already full glass.
The result depends on your milk and technique. Start with a light foamy finish rather than trying to reproduce a particular café recipe on the first attempt. If the texture is close to what you want, change one detail at a time on the next cup.
A Softer Finish for Hot Cocoa
For a powder-based cocoa, first combine the powder with a small amount of warm liquid to make a smooth mixture. Add the remaining milk before frothing, keeping enough headroom in the vessel.
This avoids asking a fast-spinning whisk to catch a dry layer of powder sitting on the surface. Start low, keep the whisk submerged, and stop before lifting.
It is an inviting use for the frother after dinner or while wrapping gifts at the kitchen table. The same tool can stay part of the routine beyond the morning coffee.
If you would like a place for those cups and ingredients, our holiday coffee-corner guide offers a separate look at arranging the counter without taking it over.
Fix the Splash Before Changing the Milk
Check the vessel, milk level, whisk position, and speed before changing ingredients. A small adjustment is often more useful than starting the whole drink again.
| What happens | Try this first | Why it helps |
|---|---|---|
| Milk splashes immediately | Switch off, reduce the starting amount if necessary, submerge the whisk, and restart on low. | More headroom and a covered whisk give the milk room to circulate. |
| The milk moves but little foam appears | Bring the whisk a little closer to the surface without lifting it clear of the milk. | Whisk position changes how air enters the mixture. |
| Large bubbles collect at the top | Lower the whisk slightly for a brief circulation pass, then stop and assess the result. | It gives you a different mixing position instead of continuing to whisk at the surface. |
| The finish changes from cup to cup | Repeat the same milk, amount, vessel, temperature, and starting speed. | A consistent setup makes the useful adjustment easier to recognize. |
If the whisk contacts the cup, reposition it before continuing. If the foam rises close to the rim, stop rather than trying to fit more into the same space.
When the frother itself is not operating normally, follow its charging and operating instructions instead of compensating with a different technique. Do not use a damaged whisk or handle.
Our recommendation
Choose our Handheld Electric Coffee Milk Frother when you want a compact whisking tool for drinks you already make. Three speeds give you room to adjust the pace, USB charging keeps the battery rechargeable, and the stainless-steel whisk has a straightforward hand-clean routine.
For everyday foam-topped drinks, that is a useful combination: a familiar brew, one small tool, and a method you can make your own.
Clean the Whisk, Keep the Handle Dry
Switch off, disconnect the charging cable if attached, and clean the metal whisk without immersing the handle. Our frother is hand-clean only.
Rinse the whisk carefully after use, keeping water away from the handle and charging connection. Wipe the handle with a damp cloth when needed, then allow the cleaned parts to dry.
The FDA recommends washing utensils after handling food. Cleaning the whisk after the drink is a better routine than leaving milk residue for the next cup.
Do not put the complete frother in the dishwasher or run the motor while treating the handle as part of the washing-up. The metal whisk and powered handle need different care.
Keep charging separate from the sink and wet preparation area. Disconnect the charging setup when finished; the U.S. Fire Administration recommends unplugging small appliances when they are not in use. Follow the frother’s instructions for a suitable USB charging supply.
Store the dry frother somewhere the whisk will not be bent beneath heavier utensils. Keep the charging cable nearby but separate from the part that gets rinsed.
The cleanup should be a small final step, not a reason to leave the frother at the back of a drawer.
Handheld Milk Frother Questions, Answered
Do I Need an Espresso Machine?
No. You can add separately frothed milk to espresso, stronger brewed coffee, or your usual coffee method. Espresso is the base of a traditional latte, but a foamy finish can belong to the coffee you already enjoy making.
Can I Make Latte Art With a Handheld Frother?
Latte art depends on milk texture and pouring technique, not simply having foam. We recommend our handheld frother for everyday foam-topped coffee, cold drinks, and cocoa rather than making intricate latte art the reason for choosing it.
What Comes With Our Handheld Milk Frother?
Our frother comes with a USB charging cable. Add your own suitable cup or jug, milk, and drink ingredients. For more help with the purchase decision, read our handheld milk frother selection guide.
Keep the coffee you love. Give the milk a little attention.
Start with a tall vessel, your preferred milk, and the lowest speed. Keep the whisk submerged, switch off before lifting, and enjoy the finish while it is freshly made. Our handheld frother gives that ordinary cup a simple, repeatable upgrade.
Sources and Updates
The guidance below supports choosing suitable drinkware, storing perishable ingredients, cleaning utensils, and caring for small appliances. The drink examples and practical frothing suggestions are Love Dug’s editorial recommendations.
Selected sources
